Send CSV file with temperature values by email at specified times
Long-term recording of temperature values and for further processing in Excel and similar programmes.
With the new update of the MOBOTIX HUB PlugIn package in December 2025, the Thermal Dashboard PlugIn was expanded to include the following function:
- Time-controlled export of temperature values in CSV format for further processing or long-term archiving, including a reference image from the camera and a snapshot of the temperature graph, and automatic sending by e-mail
Example of what is included in an export:
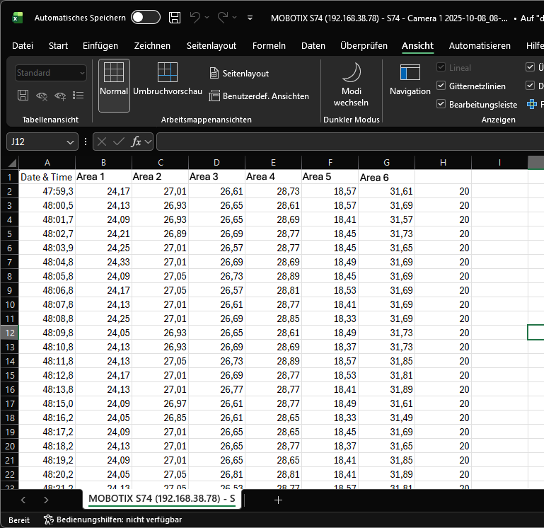
- CSV export example with 6 thermal measurement windows
- Temperature graph example with 6 thermal measurement windows (plus spot meter) in SVG format
- Reference image from the camera in JPEG format


Prerequisites
- Current version of MOBOTIX HUB
- MOBOTIX thermal cameras with current firmware
- MOBOTIX plugin from version December 2025
- MOBOTIX Thermal Plugin activated in the Management Client
- The MOBOTIX Desk Client, which performs the time-controlled export, must be running actively!
- Email server with authentication and encryption (TLS)
Settings in the Management Client

A username and password for your email account are required for secure authentication!
-
Define local storage location
Select the location on the Desk Client where the export files should be saved.This storage location must be set up in the MOBOTIX Desk Client you are using for the “background” export.
-
Select Desk Client for export
Important:
- Only the MOBOTIX Desk Client can perform the export.
- The Management Client merely triggers the rule and requests the Desk Client to execute it.
- The Desk Client must be active at this point.
The export runs in the background, allowing the user to continue using the Desk Client as usual during the “background” export.
-
Configure email delivery
Enter the login details for the email account you are using and the recipient’s address. -
Create rule for automatic export
Example: ‘Execute an export once a day’.
-
Set the time and frequency
Define when and how often the rule should be executed.
-
Determine export period
Select the time period to be included in the export.
Example: Temperature values from the last 5 minutes.
Adjustable range: 1 minute to 7 days.
Attention:
The analysis time for extracting temperature data can take several hours for long recording periods and high frame rates (FPS).


A rule that starts at 12:00 noon will not send the email until the analysis is complete.
- Select cameras
Bestimmen Sie, von welchen Kameras die Temperaturdaten exportiert werden sollen.

Note on custom user roles
The Desk Client and its users require playback rights for background export.
This right is automatically available for the standard group ‘Operators’.
It must be explicitly set for newly created user groups.

Post-processing / evaluation options with Excel
CSV stands for comma-separated values and is a file format for exchanging simple tabular data. It is a text file in which values in a line are separated by a delimiter (usually a comma or semicolon). Each line represents a data record. The format is ideal for importing and exporting data between programmes such as spreadsheets and databases.
In our case, the CSV file contains temperature data from the various thermal measurement windows with exact date and time stamps, recorded by one or more cameras.

Steps for evaluation in Excel
- Open CSV file
Open the file in Excel. Ensure that the columns are separated correctly (separator: semicolon). - Formatting the time column
The ‘Date & Time’ column contains the date and time.
- Select the column and format it so that only the time (HH:MM) is displayed, if desired.
- This makes it easier to display the time progression.
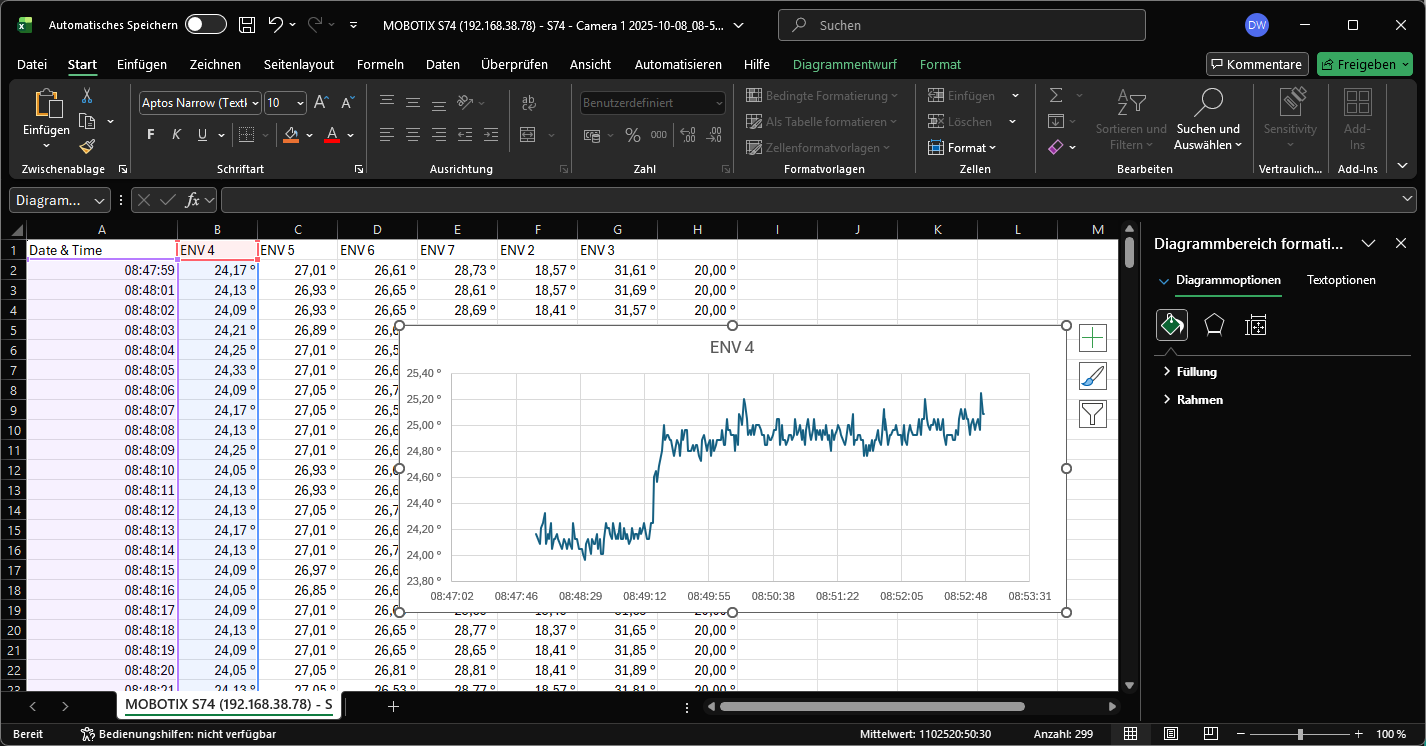
- Creating a chart for a measurement curve
- Select columns A (time) and B (e.g. ENV 4).
- Go to Insert → Charts → Line Chart.
- This will give you the temperature curve for a single measurement window.
- Displaying multiple measurement curves
- Select the columns for the additional ENV values (e.g. ENV 2 to ENV 6).
- Select Insert → Charts → Line Chart again.
- Excel creates a chart with multiple lines for comparing the temperature curves.

Note:
The names of the measurement windows (e.g. ENV 4) are standard designations and can be customised in the camera configuration.
Helpful video from Microsoft: