Sometimes it can happen that the current hardware is no longer sufficient or it is defective. Then I have to transfer the complete MxHUB to a new PC.
In this case, the MxHub would have to be set up again.
However, you can transfer the “old” MxHub configuration to the new PC via SQL database backup and get the same configuration again, so you do not have to reconfigure the system itself.
You can see how this works in this article
1) Create a SQL Database Backup of your currently running MxHub System
Download and install SQL Server Management Studio
After installing, open SQL Server Management Studio
Search for the Surveillance Database → Right Click on it → Tasks → Back Up…

Click OK

After successfully backuped your database, copy it to your new System
By default the backup is made in the following destination
C:\ProgramData\MOBOTIX\HUB Management Server\BackupFolder

2) Restore SQL Database on the new PC
Note: It is important that you do not have the MxHub preinstalled! First of all do the following Steps!!
Install SQL Server Management Studio
Download and install SQL Server Management Studio
Install a SQL Server
in this Case we are using SQL Server 2019 Express
https://www.microsoft.com/en-US/download/details.aspx?id=101064

Select Basic

Click Accept

Select an Installation Location and Click Install
After Installation of SQL Server 2019 Express is finished Click on Customize


Click Next

Click Next

Click Next
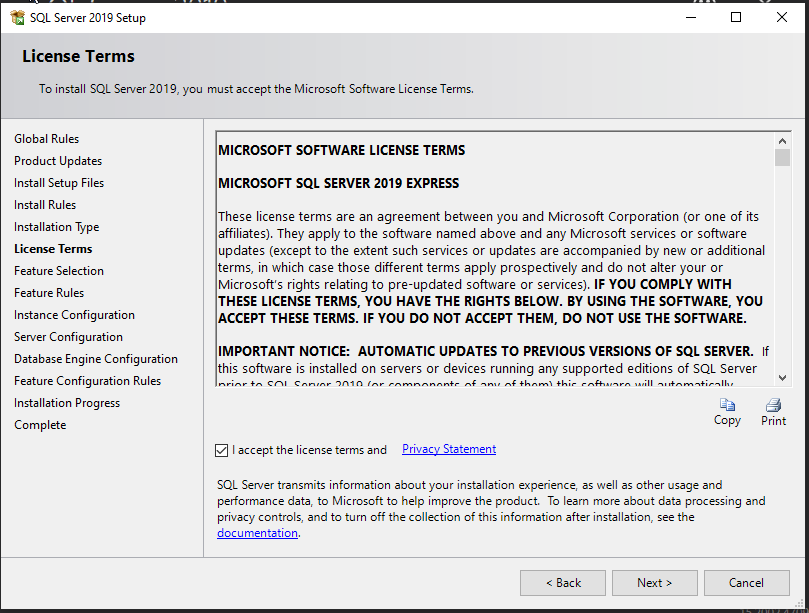
Accept the license term and then click Next
Click Next

Enter a name for your Instance and click Next

Click Next

Add new SQL Admin Users or click directly Next
After Installation is completed click Close

Start SQL Server Management Studio
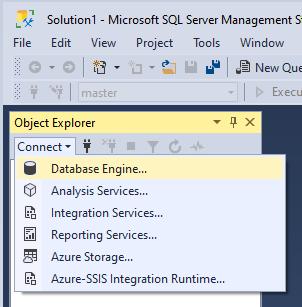
Click on Connect and select Database Engine…
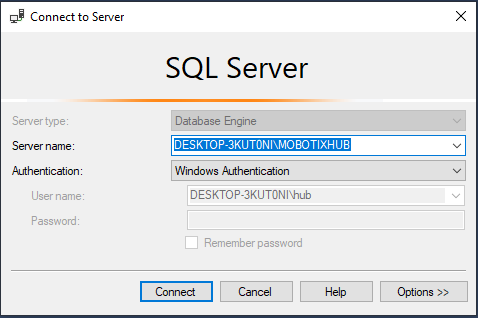
Click Connect
Right Click on Databases → Restore Database…

Click on Device and browse for your Surveillance.bak Database of your “old” MxHub Installation.
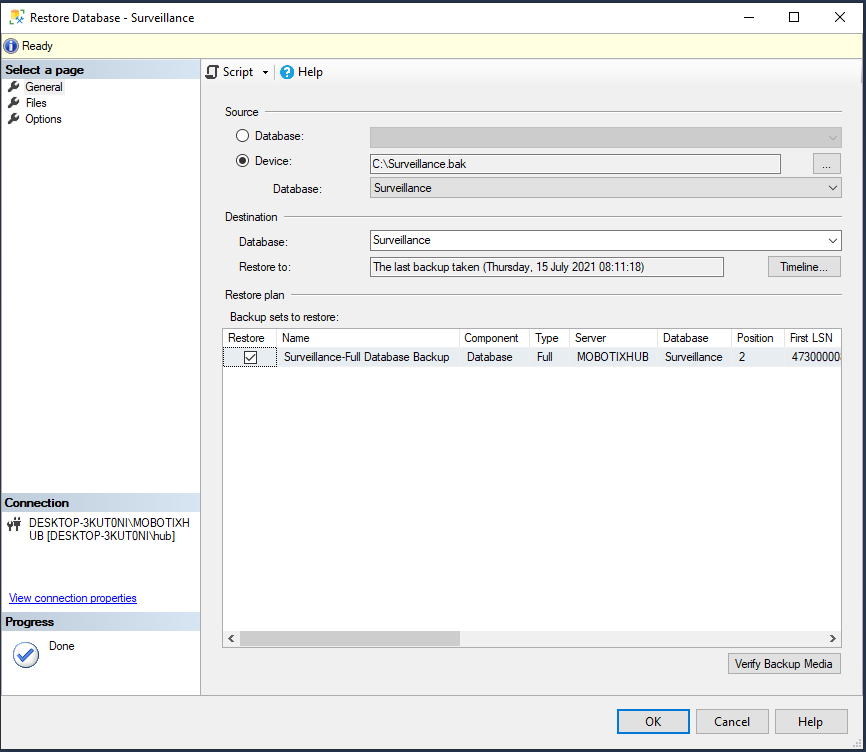
Click OK

Click OK
3) Install MOBOTIX HUB on the new PC
Select your language for the installation

Click Continue
Accept the license agreement

Click Continue
Select your MxHub License

Click Continue

Select Custom
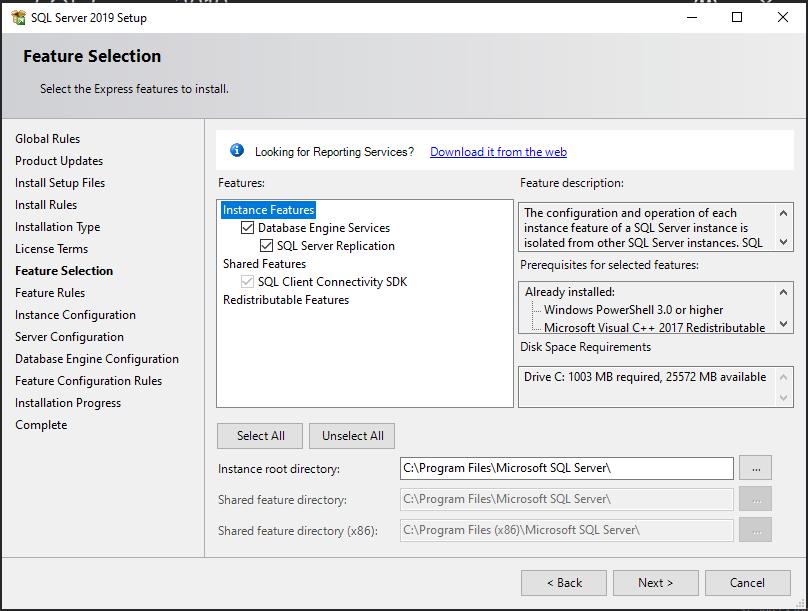
Select the components which you want to install

Click Continue
Select your configured SQL Server

Click Continue
Select Use existing database and Keep

Click Continue
Enter a password for the configuration
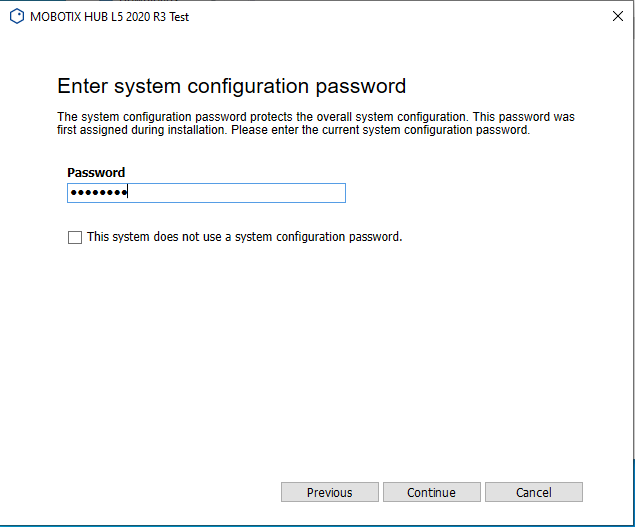
Click Continue
Click accept

Click Continue
Select your local admin account
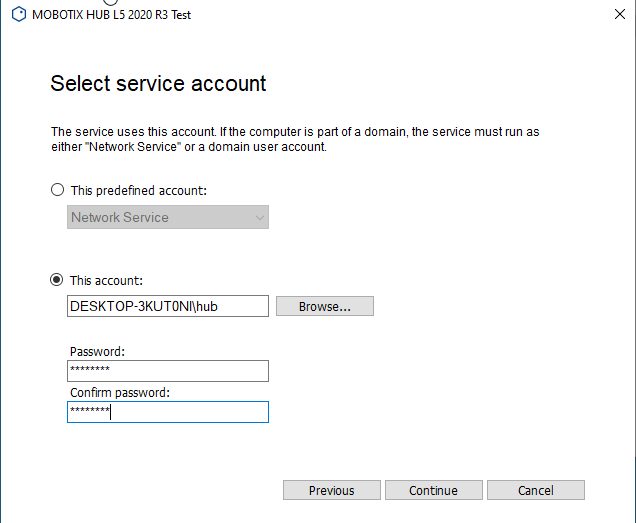
Click Continue
Select your local admin account

Click Continue
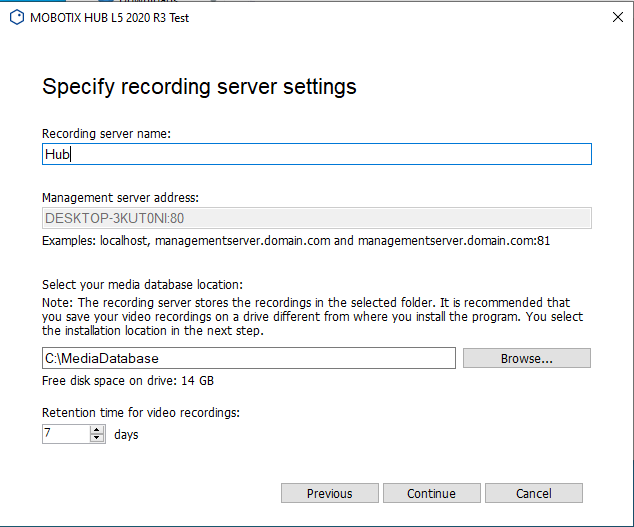
Set your recording server settings
Click Continue
Select encryption or no encryption

Click Continue

Click Install

Click Close
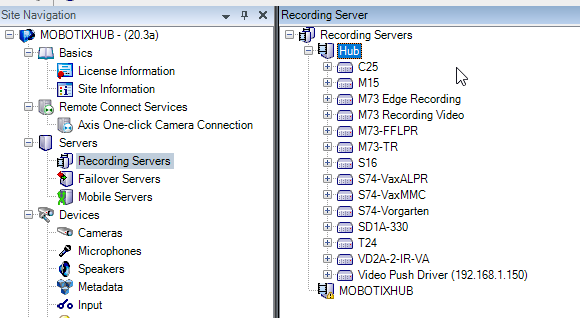
Open the MxHub Management Client
Click on Recording Servers → Now you see your new configured recording server and the old one from your old PC. Now you have to Move the Cameras to your new recording server

Now you have to Move the Cameras to your new recording server
Right Click on your old recording server
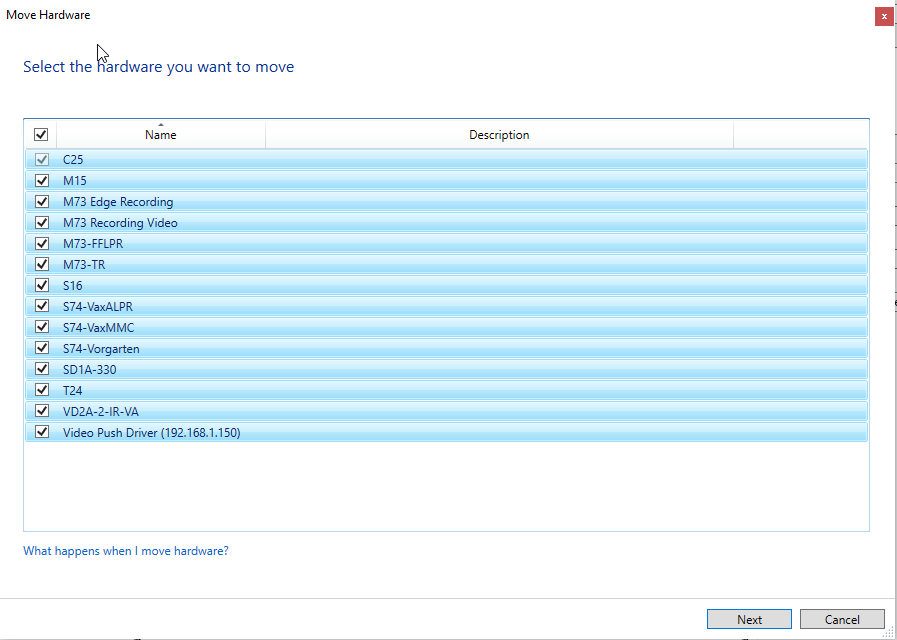
Select: Move Hardware…


Click Yes
Select all Cameras which you want to move to the new recording server
Click Next

Click Next
Configure your Storage Usage, Name and Retention time

Click Move

Click Close
Now all devices moved to your new recording server and all settings of your old MxHub Installation should be available on your new MxHub Installation